Replacing a showerhead like a pro starts with clear prep: gather the right wrench, thread seal tape, cloth, compatible fittings, and a finish that matches, then confirm thread types and shut off the water. The method is straightforward but precise: remove the old unit, clean threads, apply tape, and tighten the new head firmly. Once water is restored, test for leaks and adjust the spray. The next steps cover choices, setup, and tweaks for efficiency, so the process continues with solid fundamentals.
What You Need to Know Before You Start
Before attempting to replace a showerhead, gather the necessary tools and parts to ensure a smooth process.
The section outlines Subtopic ideas and Practical considerations that inform a calm, independent approach.
It identifies compatible fittings, thread types, water pressure implications, and potential fixture coatings.
The goal is informed preparation, reducing surprises, and enabling a straightforward, liberated workflow without unnecessary complexity.
Choosing the Right Showerhead and Tools
To choose the right showerhead and accompanying tools, assess compatibility with the existing plumbing and the user’s preferences for spray patterns, height, and finish. Consider showerhead compatibility with standard fittings, flow rate, and water pressure. Select appropriate thread sealants to prevent leaks. Tools should include adjustable wrench, plumber’s tape, and a cloth for protection. Choose durable materials and simple mounting hardware for reliable performance.
Step-by-Step Replacement Guide (No-Plumber Version)
Step-by-step instructions for replacing a showerhead without a plumber begin with gathering supplies, ensuring compatibility with standard fittings, and preparing the area to prevent drips or damage.
The process remains straightforward: detach old hardware, apply plumber’s tape, install new unit, and test.
This DIY plumbing task emphasizes water pressure basics and showerhead airflow for reliable, freedom-minded results.
Troubleshooting, Maintenance, and Water-Saving Tips
Common issues with newly installed showerheads are often straightforward to diagnose and fix, emphasizing methodical checks for leaks, flow, and spray patterns.
Regular showerhead maintenance prevents mineral buildup and pressure loss, while simple tuning of gasket seals and washers reduces drips.
Water saving hacks include flow restrictors, shorter showers, and timed usage; these practices balance performance with efficiency and freedom.
See also: 5G Driving Real-Time Innovation
Frequently Asked Questions
Can I Reuse My Old Shower Arm With a New Head?
Yes, reusing arm is possible if compatible heads match thread size and sealing. The detached reviewer notes: verify threading, inspect for wear, apply plumber’s tape, tighten snugly, test for leaks, and choose compatible heads for a freer, functional setup.
Do Different Finishes Require Special Cleaning Methods?
Suspense tightens; finishes requiring careful care vary. Different finishes require tailored cleaning methods to prevent damage. He notices that some finishes resist abrasives, while others tolerate mild soap. Regular, gentle wiping extends glossy longevity and freedom.
Will Replacing a Showerhead Affect Water Pressure Elsewhere?
Replacing a showerhead generally does not affect water pressure system-wide unless a clogged aerator or kinked line exists; How water pressure is affected depends on flow restrictions. Showerhead, plumbing leaks, and main supply influence localized pressure changes.
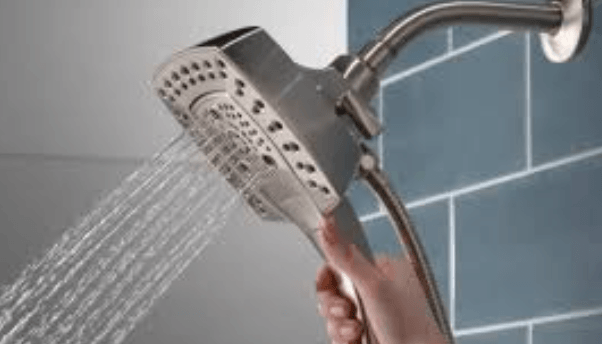
Can a Handheld Head Work With a Fixed Shower Arm?
With a spark of potential, yes: a handheld can work with a fixed shower arm if a compatible holder and adapter are used. Handheld compatibility and fixed arm adaptability depend on threads, connectors, and proper seals.
Are There Emissions or Safety Concerns With Certain Materials?
Emissions concerns exist primarily with certain coatings and composites; material safety hinges on low VOCs, non-toxic resins, and lead-free metals. The approach prioritizes verified certifications, clear labeling, and practical testing to ensure safe, freedom-friendly product choices.
Conclusion
Replacing a showerhead like a pro is straightforward when prepared. By choosing the right head and tools, following a clean, step-by-step process, and applying plumber’s tape correctly, leaks are prevented and performance is optimized. One common objection is “it’s too complicated.” In reality, the basic method—shut off water, remove old unit, prep threads, install new head, and test—demonstrates that a proactive, practical approach delivers reliable water delivery with minimal effort. Consistent maintenance extends efficiency and comfort.